
To improve our facilities at the Secret Valley Woodland, the decision was made to build a compost loo. The shed used for the structure came from an allotment and all the wood used in the project was re-claimed - with much of it found on site. The loo seat is new! The green paint used and the window were also bought new to go into the project. Other bits and pieces were donated by various people out of various sheds around Glastonbury.
 |
| A leaky galvanized butt with it's end cut off and a door added for the poo to land in! It is in situ next to a concrete block which will make up part of the foundations for the compost loo. |

 |
| A plastic water butt re-modeled to make a link between the floor of the loo and the metal container below. Adding some sealant made a good join. |
 |
| The floor of the loo - re-enforced and a hole cut ready. The floor was also coated with varnish. |
 |
| Temporarily propping things up - just to get things level. |
 |
| The view down the hole to the earth below! |
 |
| Offering up the bucket that is going to have the toilet itself built around and act as a chute to the container below. |
 |
| Legs cut to size and secured. The feet are painted with bitumen to make them last and they are stood upon concrete slabs so they don't sink! They are also staked with metal stakes to prevent movement. |
 |
| Bracing has been added to the legs. The original shed was screwed onto the base. Some restoration work was done to the shed before this stage - loose boards were re-attached and the interior walls and inside the joints were painted. The feet at the front of the building are just sitting on the lump of concrete. |


 |
| Some stonework added to stop the foot from slipping and add support to the piece of wood that the step is going to rest upon. |
 |
| Green paint going on, but still lacking a proper roof covering. |
 |
| Roofing felt being added. |
 |
| Roofing felt and trim added. |

 |
| Almost finished! Still lacking a front step and a window. |
 |
| Loo seat in position on a wooden fame over the bucket acting as a chute to the metal container below. There is a 'T' shaped support at the back of the toilet that is not shown in this picture. |
 |
| The loo seat is one of the few items used in the build not re-cycled or leftover from previous projects. |
 |
| Window installation. |


 |
| Cupboard made from re-cycled bits and pieces. |
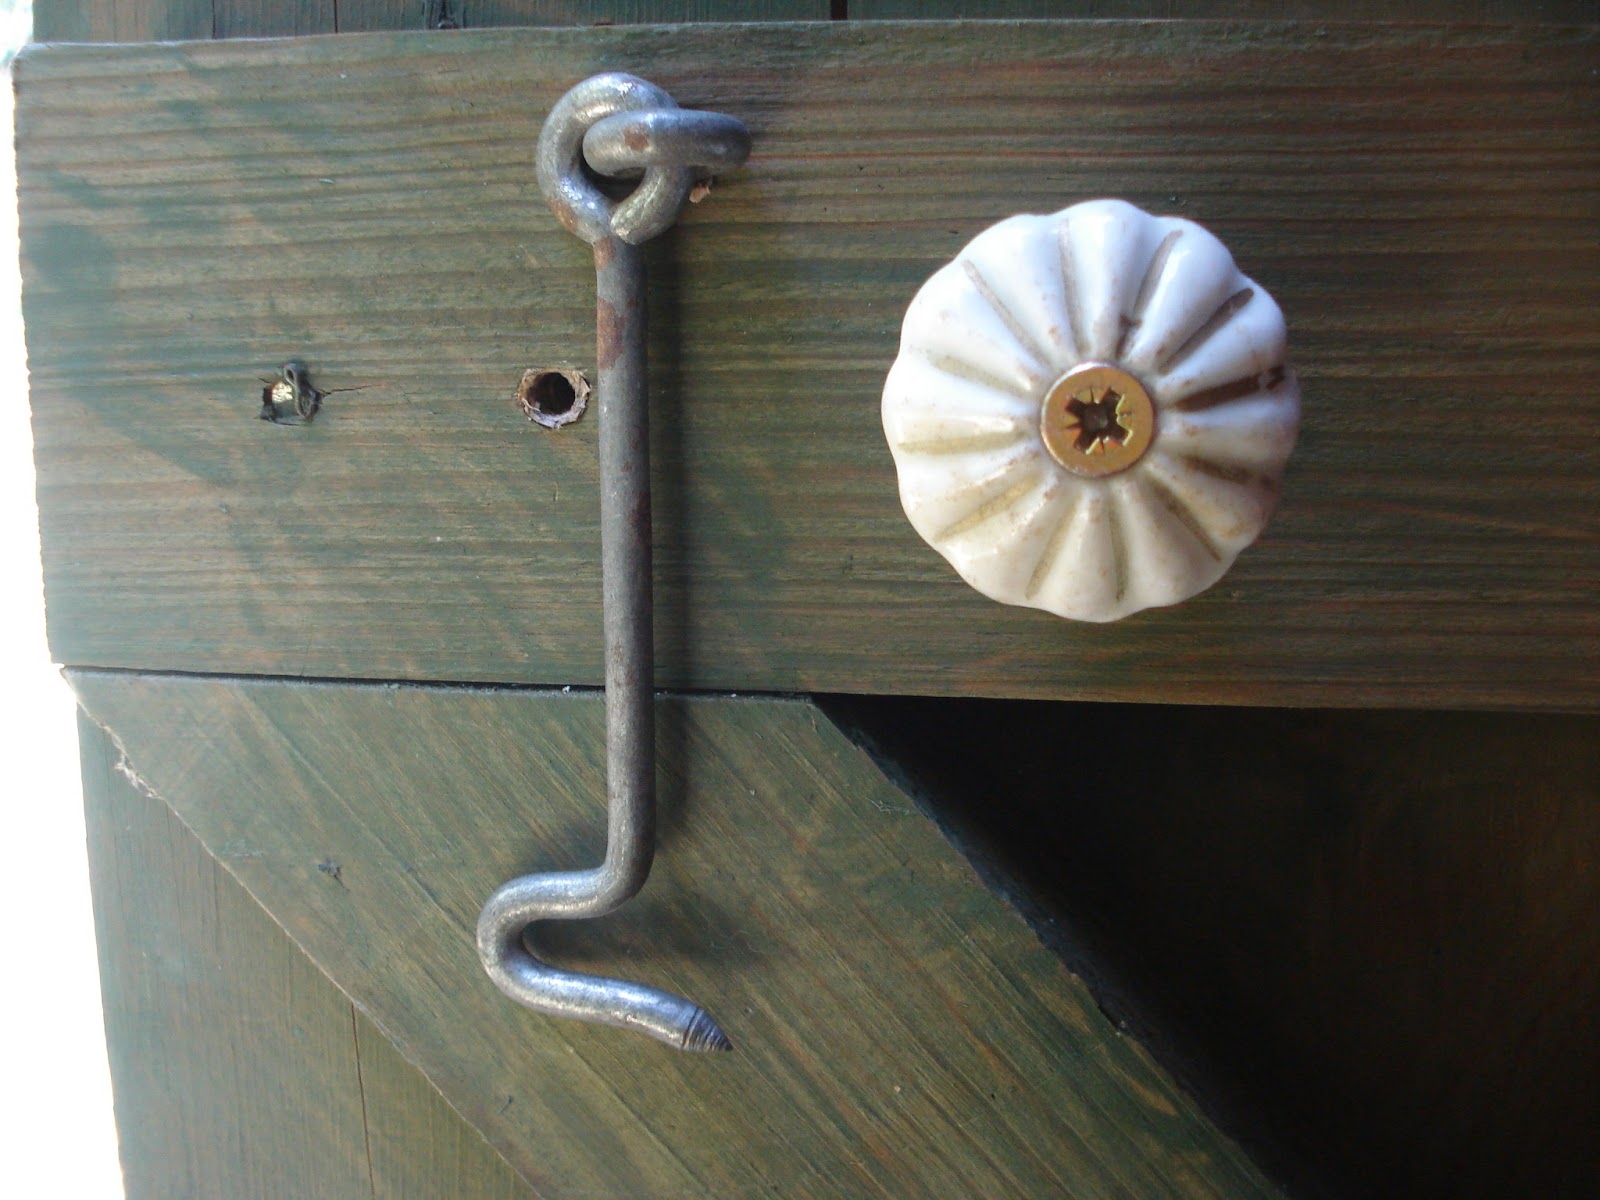 |
| Door catch. |
 |
| The view from the window! |
Final finishing touches needed:
- A step to make access easier.
- Guttering and a water butt.
- A way of hooking the door open for ventilation!
- A bucket of sawdust and some instructions.
- A place for hand washing.
No comments:
Post a Comment